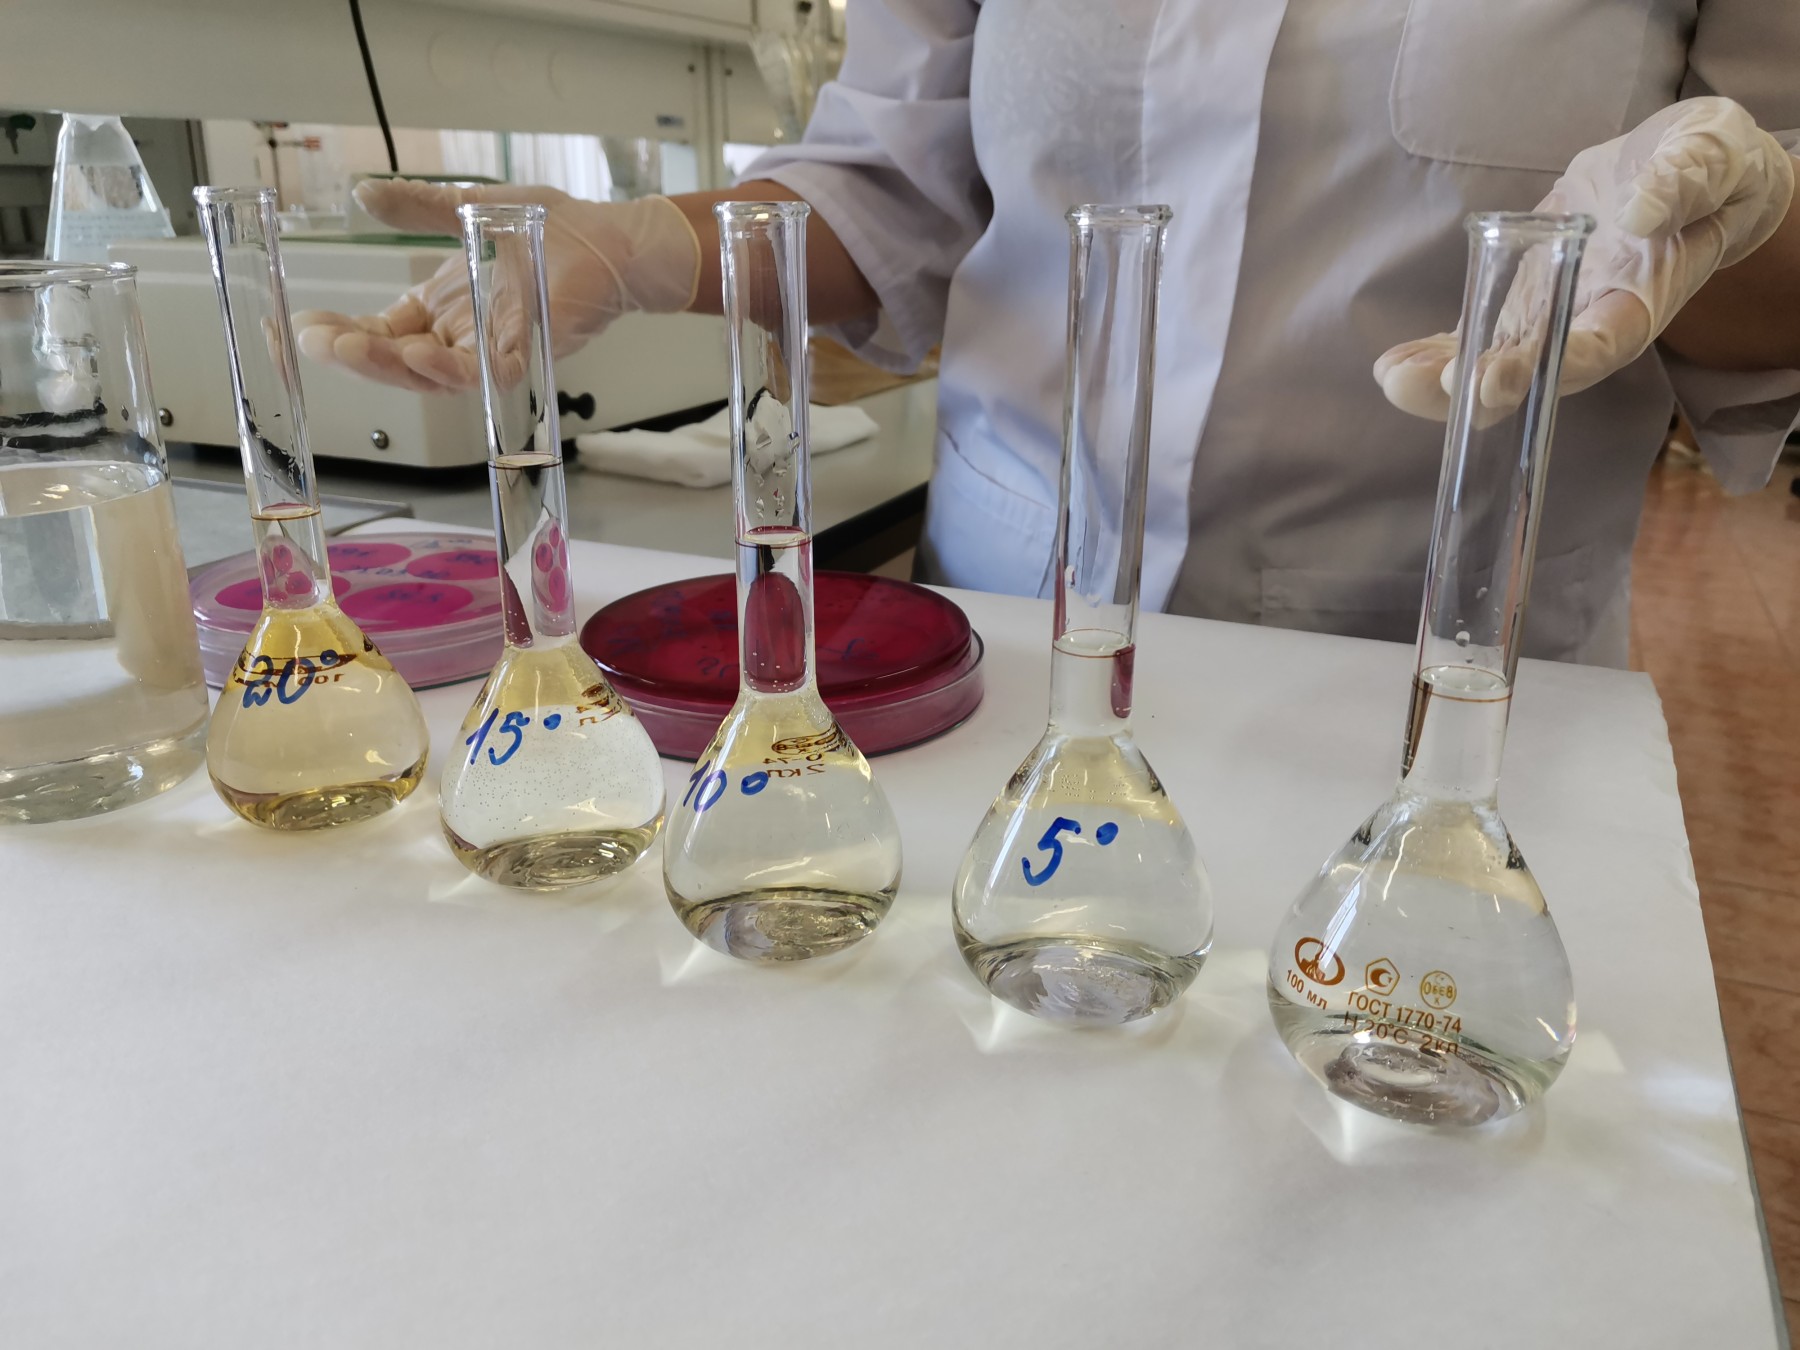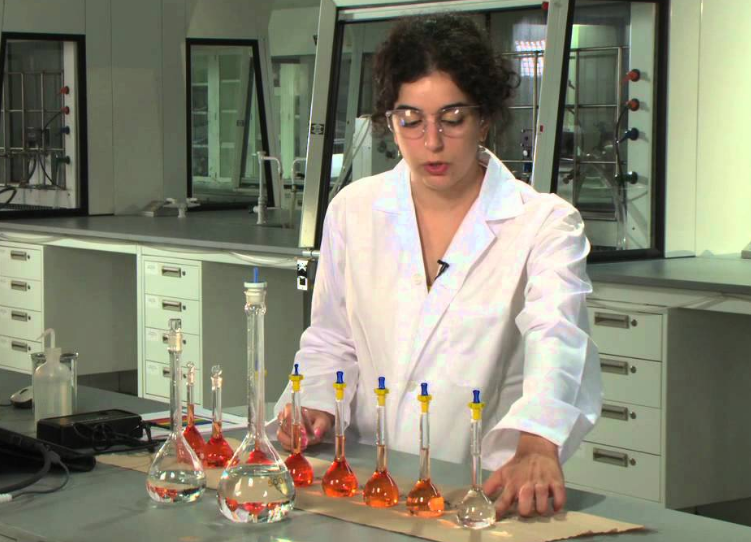
Use of volumetric flask during testing
(1) Leak test before water quality testing
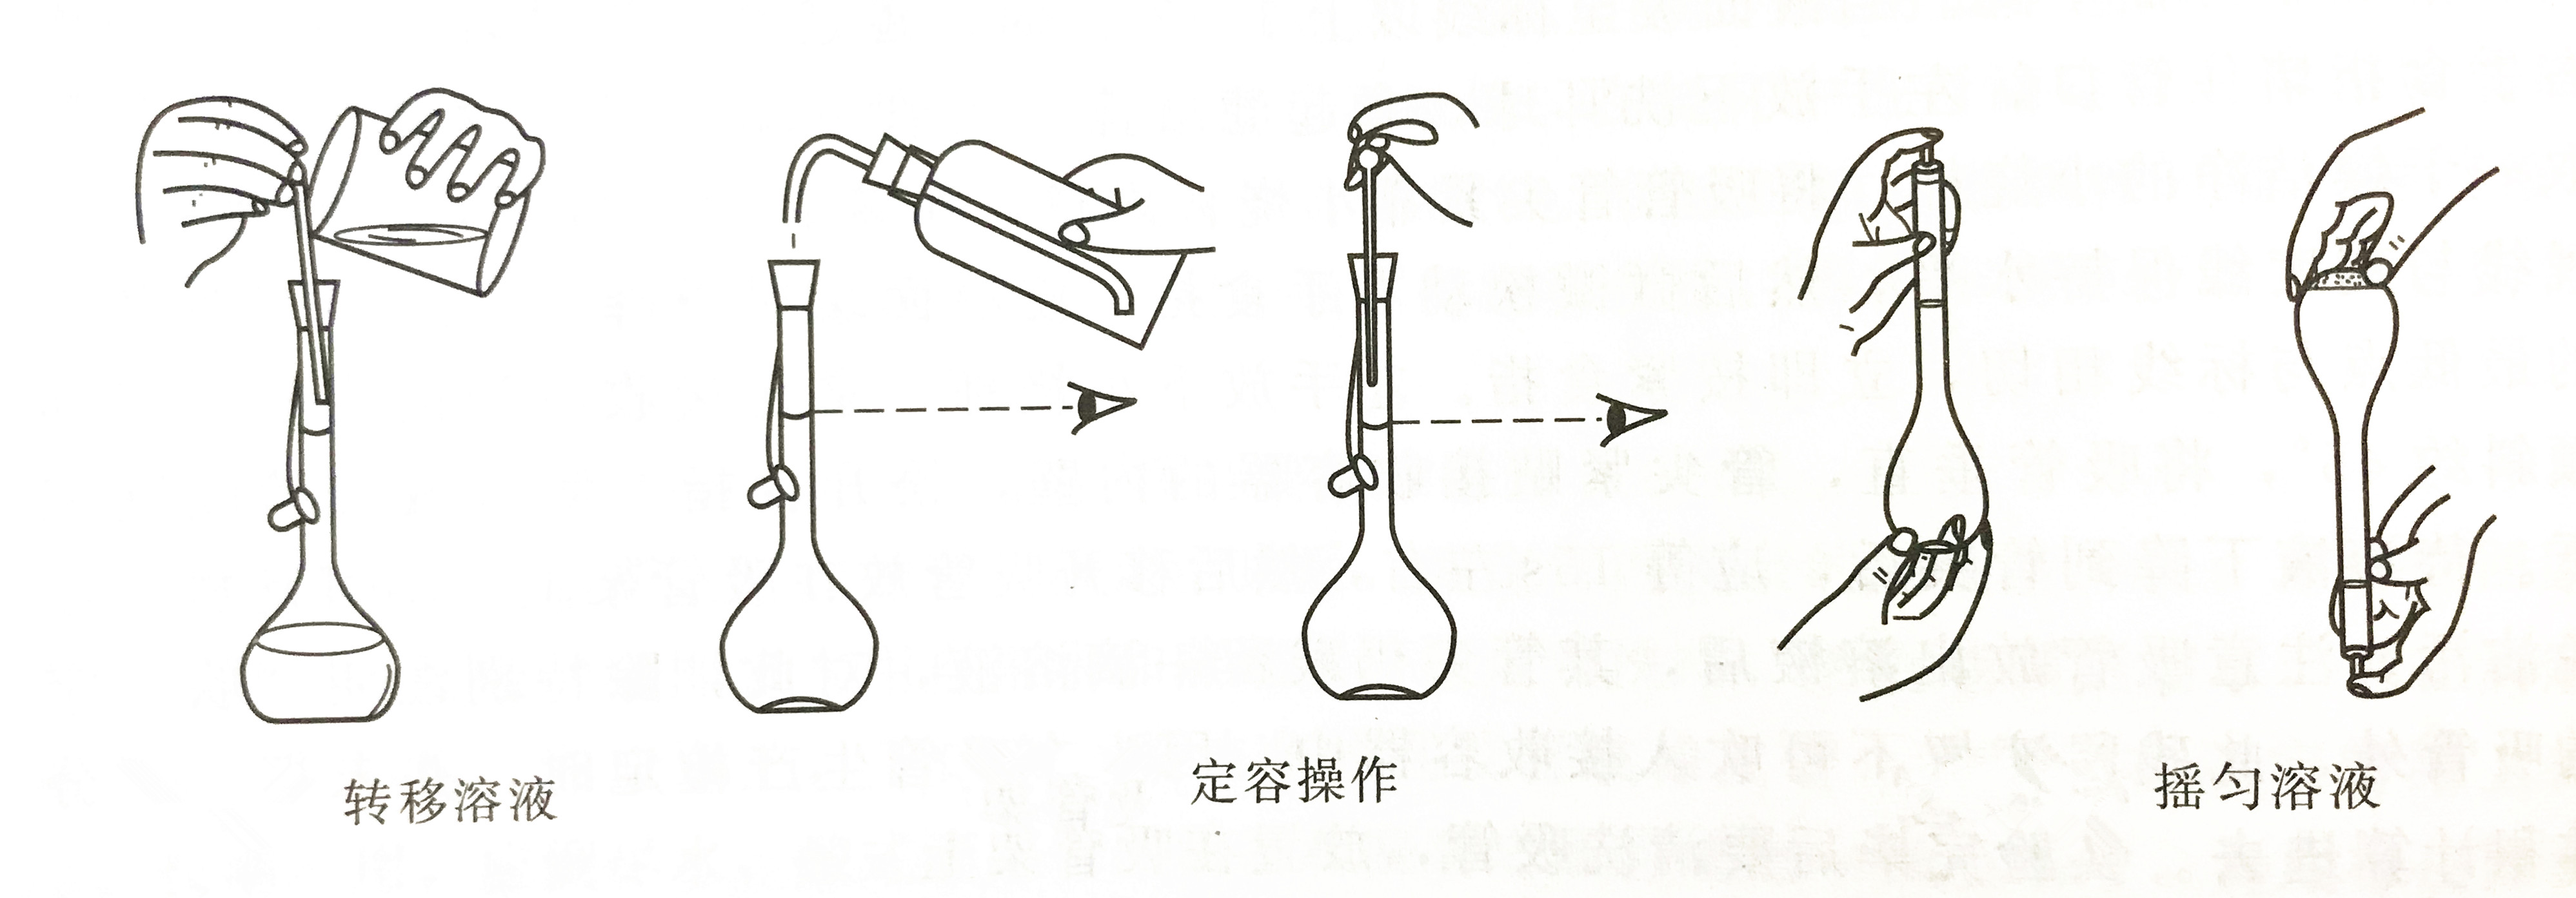
Check whether the stopper of the volumetric flask is leaking. The method is: add tap water to near the marking line, close the stopper, hold the stopper with your left index finger, hold the part above the bottleneck marking line with the rest of your fingers, hold the bottom edge of the bottle with the tip of your right finger, and stand the bottle upside down for 2 minutes. Whether it is leaking, it can be checked with filter paper. Put the bottle upright, turn the stopper 180°, and then stand it upside down for 2 minutes to check. If there is no water leakage, it can be used. The stopper of the volumetric flask should not be removed and placed randomly, so as to avoid staining, making a mistake or breaking it. The cork can be tied to the neck of the bottle with a rubber band or string. For flat-topped plastic plugs, the plugs can also be placed upside down on the desktop.(2) Wash before water quality testing
The volumetric flask is washed with tap water before use, then washed with chromic acid lotion or other special lotion, then fully washed with tap water, and finally rinsed with distilled water 3 times.(3) Prepare solution with solid substances
Accurately weigh the reference reagent or the sample to be tested, place it in a small beaker, and dissolve the solid matter with a small amount of distilled water (or other solvent). If heating is needed to dissolve, it should be cooled to room temperature after heating. Then quantitatively transfer the solution to a volumetric flask. When transferring the solution quantitatively, hold the glass rod in your right hand and extend the glass rod into the mouth of the volumetric flask. The lower end of the glass rod is against the inner wall of the bottleneck (note: the glass rod cannot touch the mouth of the bottle). Hold the beaker in your left hand, make the mouth of the beaker close to the glass rod, and let the solution flow into the volumetric flask along the glass rod and the inner wall. After the solution in the beaker is poured, slowly straighten the beaker while lifting the mouth of the cup by 1 to 2 cm along the glass rod, and then leave the glass rod to prevent a drop of solution between the mouth of the cup and the glass rod from flowing out of the beaker, and put the glass Put the rod back in the beaker, but don't lean against the mouth of the cup, then use a bottle to blow the glass rod and the inner wall of the beaker, and then transfer the solution to the volumetric flask as described above. Such purge and transfer operations should be repeated several times to ensure complete solution transfer. Then add a small amount of distilled water to the 2/3 volume of the volumetric flask, and gently rotate the volumetric flask in the horizontal direction for a few weeks to make the solution uniformly mixed initially. Then continue to add water to about 1cm below the marking line, wait for 1 to 2 minutes to allow the water attached to the inner wall of the bottleneck to flow down, and then use a small dropper to drip distilled water until the lowest point of the meniscus is tangent to the marking line, and the line of sight should be in On the same level. Regardless of the color of the solution, the position of adding water should be such that the lowest point of the meniscus is tangent to the marking line. Then close the bottle stopper tightly, hold the bottle stopper with your left index finger, hold the part above the bottleneck mark with the rest of your fingers, hold the bottom edge of the bottle with the tip of your right finger and turn the volumetric flask upside down to make the bubbles rise to the top and mix the solution horizontally. Repeat this operation 15 to 20 times to mix the solution in the bottle thoroughly.When holding the bottle with the right hand, minimize the contact area with the bottle body to avoid the influence of body temperature on the temperature of the solution. For volumetric flasks below 100mL, you can hold the bottle neck with one hand without holding the flask with your right hand, and at the same time hold the stopper with your palm and shake it upside down.

(4) Dilute solution
If you use a volumetric flask to dilute a known and accurate concentration of a concentrated solution into a dilute solution of a certain concentration, use a pipette to transfer a certain volume of the concentrated solution into the volumetric flask, add distilled water to the mark, and mix the solution according to the aforementioned method.(5) Precautions for use
①The hot solution must be cooled to room temperature before it can be diluted to the marking line, otherwise it will cause volume error.② Volumetric flasks are not suitable for long-term storage of reagent solutions, and volumetric flasks cannot be used as reagent bottles. If the prepared solution needs to be stored for a long time, it should be transferred to the ground-mouth reagent bottle. After the ground-mouth bottle is cleaned, it must be rinsed with the solution in the volumetric flask 3 times.
③After the volumetric flask is used, rinse it off with tap water immediately. If it is not used for a long time, the grinding mouth should be washed and dried, put on a small piece of paper, and stored in the instrument cabinet.
④The volumetric flask cannot be baked in an oven, nor can it be heated in any way. When you need to use a dry volumetric flask. After washing the volumetric flask, rinse it with organic solvents such as ethanol and then dry it or blow it dry with the cold air of a hair dryer.


