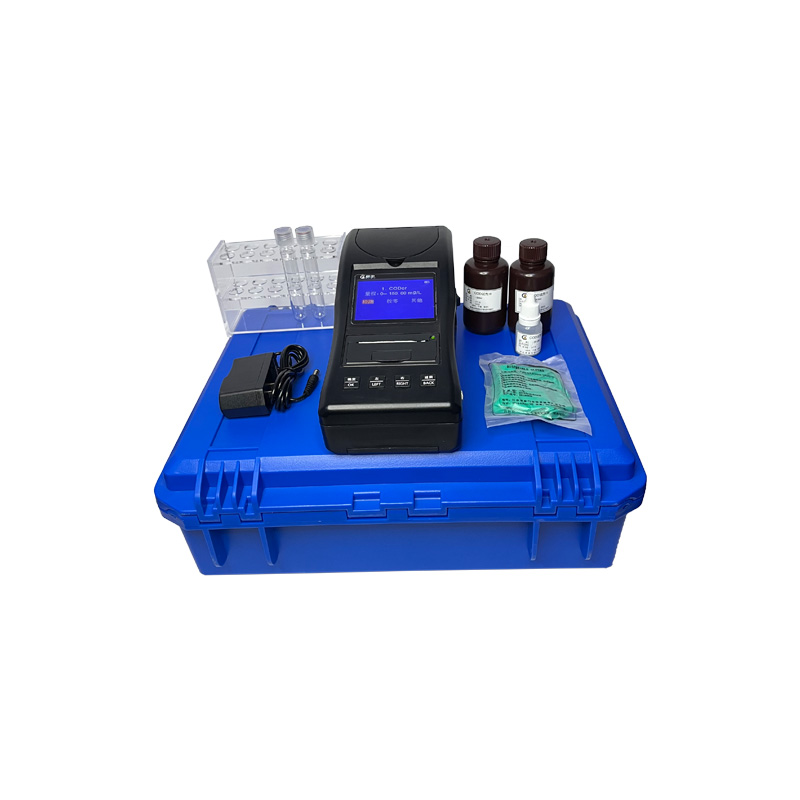
The portable water quality tester is a small, lightweight and easy-to-carry device for rapid testing and evaluation of water quality. They usually have built-in sensors and measurement techniques that can measure multiple water quality parameters, such as pH, dissolved oxygen, conductivity, turbidity, and temperature. It has the advantages of portability, real-time and simple operability, which enables users to quickly monitor and evaluate water quality in different occasions.

1.Preparation :
Make sure you have a portable water quality tester for the required parameters and make sure it is charged or has enough power. Consult the instructions of the instrument to understand its functions, operation methods and precautions.
2. Calibration instrument :
According to the instructions in the instructions, select the appropriate calibration solution and ensure that it does not expire. Open the instrument and operate according to the calibration guide. Usually, you need to immerse the sensor in the calibration solution, wait for a period of time to stabilize the instrument, and then perform calibration operations according to the instrument display or indication.
3. Preparation of samples :
The water sample to be tested is collected and put into a clean container. Ensure that the container is clean and pollution-free, you can choose to use sterile containers. If the water sample contains suspended particles, a filter can be used to remove impurities.
4. Begin detection :
Open the portable water quality tester, and immerse the sensor into the water sample according to the instructions. Ensure that the sensor is in full contact with the water sample and avoids the presence of air bubbles. According to the requirements of the instrument, wait for a certain time to make the instrument stable and measure.
Once stable, the instrument will display or output the corresponding test results, such as pH, dissolved oxygen concentration, turbidity, etc. Record the measurement results.
5. Interpret the results :
Interpret test results with reference to required water quality standards or requirements. The difference between the measured value and the standard value is compared to determine whether the water quality meets the requirements. If necessary, you can use the built-in comparison function provided by the instrument or refer to external data for further analysis.
6. Cleaning and maintenance :
After the use is completed, the sensors and instruments are cleaned in time according to the recommendations of the instructions. Use appropriate cleaning agents or methods to ensure that the surface of the sensor and instrument is clean and remove any residues that may affect the next test. Check the power of the instrument, replace the battery or charge it as needed to ensure that the instrument is available for the next use.
7. Sample treatment :
After the test is completed, the water samples are properly treated and disposed as needed. This may include dumping the sample, cleaning the sample container, or sending the sample to the laboratory for further analysis.
8. Maintenance and storage :
According to the guidance of the instructions, the maintenance of the instrument is carried out regularly. This may include cleaning sensors, calibrating instruments or replacing components. When not using the instrument, it is properly stored in a dry, temperature-appropriate environment to avoid damage or affect performance.
Please note that the specific steps and operational details may vary from different portable water quality testers. Therefore, it is best to read in detail and follow the instructions or manufacturer 's advice provided before use. This will ensure the correct operation of the instrument and obtain accurate test results.


