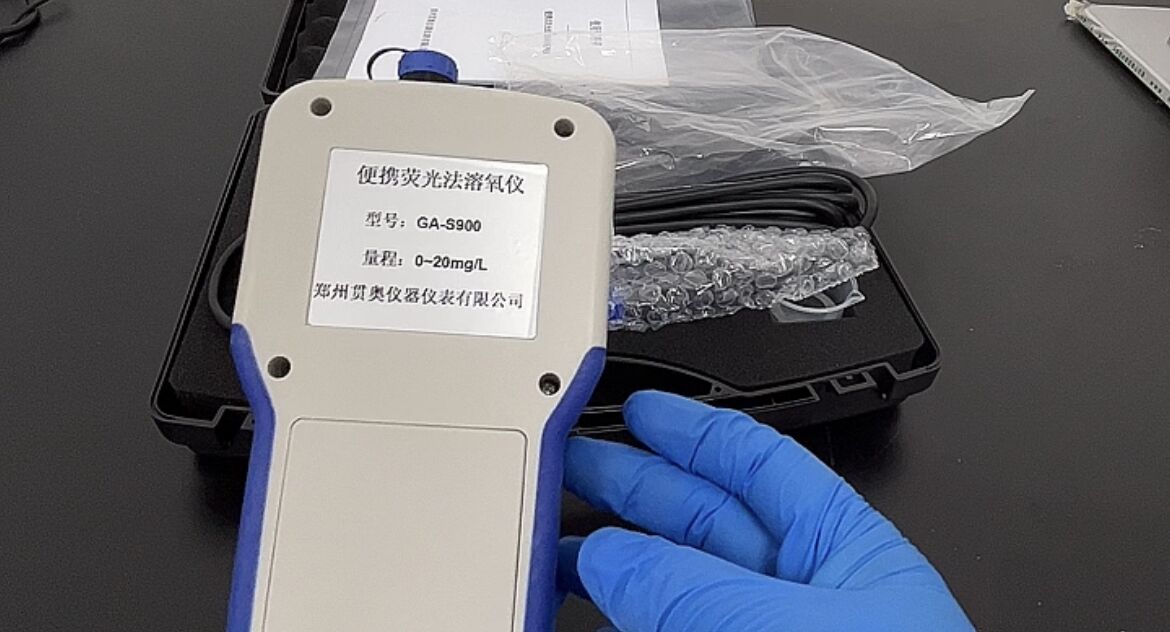
Everyone knows that when using electrode portable water quality testers, it is necessary to regularly maintain and maintain the electrodes to ensure the accuracy and reliability of water quality testing data. However, if there are situations such as electrode aging, damage or wear, pollution or blockage, it is necessary to consider replacing the electrodes.

Actually, replacing the electrodes of a portable water quality tester is a relatively simple process, but the specific steps may vary depending on different water quality testers. The following are the steps to replace the electrodes of a portable water quality tester:
1. Preparation of electrodes: Usually, electrodes are designed based on a specific model of water quality tester, so you need to obtain electrodes that are compatible with your instrument.
2. Turn off the instrument: Turn off the water quality tester and disconnect it from the power supply. This is to ensure safety and avoid any possible risk of electric shock.
3. Determine electrode interface: Usually, the electrode is located at the bottom or side of the water quality tester. You may need to refer to the instrument's user manual to find the correct location.
4. Installing the electrode: Remove the old electrode. The specific operation may vary depending on the instrument, but usually you need to loosen the fixing screws or rotate the electrode to remove it from the instrument. Then insert the new electrode into the designated position according to the instructions of the instrument and ensure that it is securely fixed.
5. Check installation: Ensure that the electrodes are installed correctly. Check if the electrode is tightly connected to the instrument and there is no looseness or inclination. Turn on the power and restart the water quality tester. After ensuring the electrode replacement is completed, reconnect the power supply and turn on the instrument to verify the normal operation of the new electrode.
Please note that the above steps are only general guidelines, and the specific replacement steps may vary depending on the model and manufacturer of the water quality tester. Therefore, before replacing the electrode, please refer to the user manual of the water quality tester or the instructions provided by the manufacturer for operation.


